Chimney Flashing Repair Services Overview
Visitors will learn about chimney flashing repair services and how to compare local contractors who handle this work.
- - Residential homeowners seeking reliable chimney flashing repair services to protect their property from water intrusion.
- - Commercial property managers needing local contractors experienced in maintaining and repairing chimney flashing systems.
- - Property owners requiring comparison of nearby service providers specializing in chimney flashing repairs for various types of buildings.
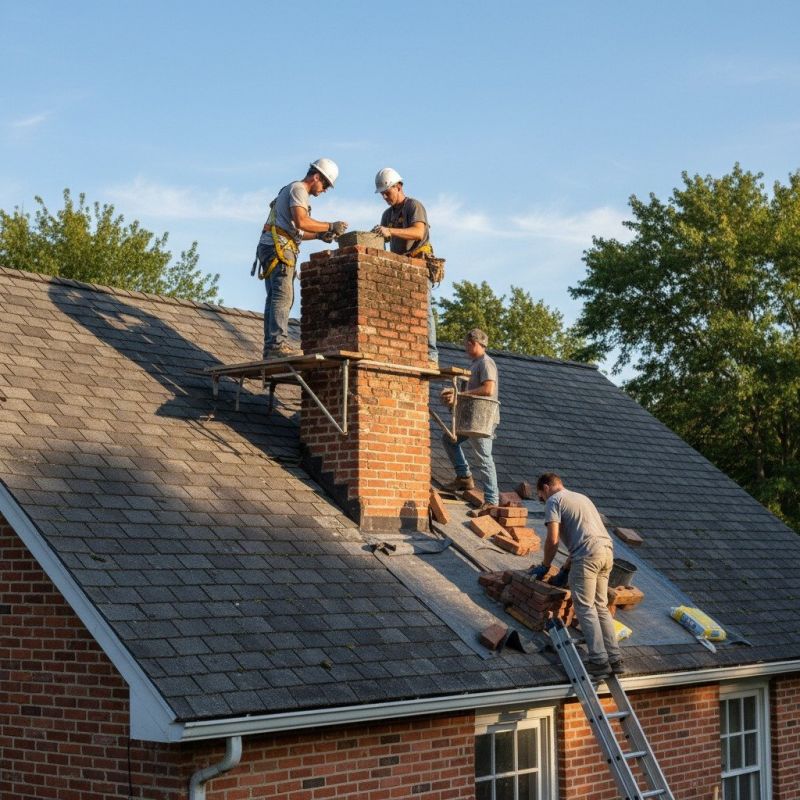
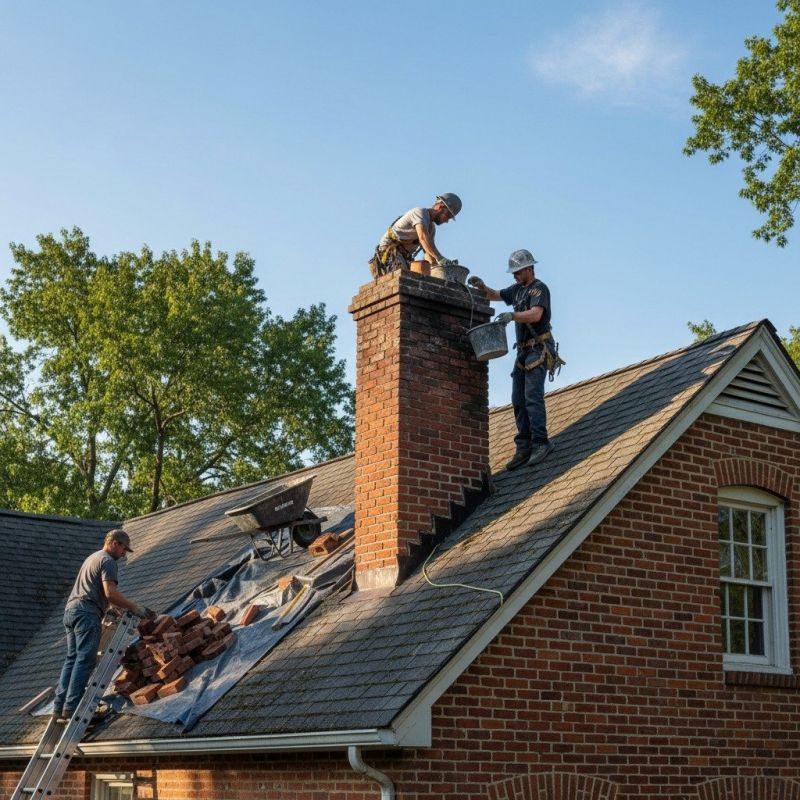
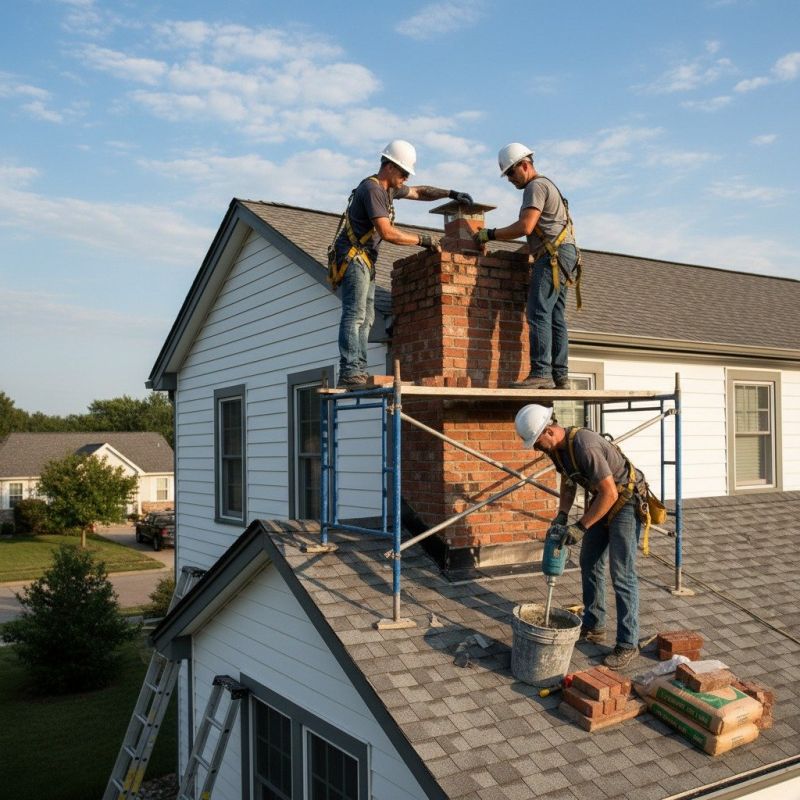
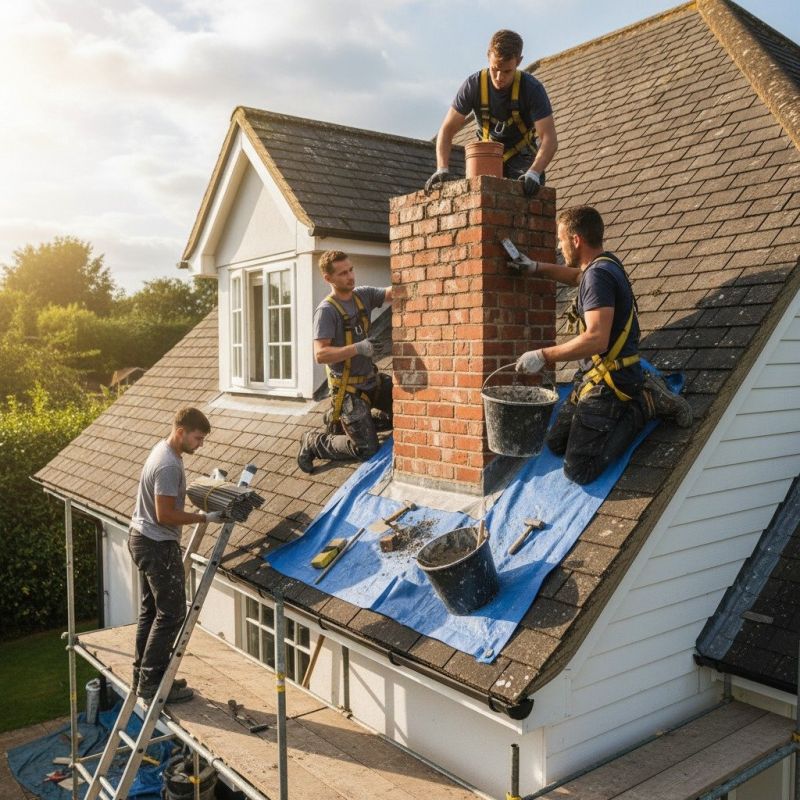
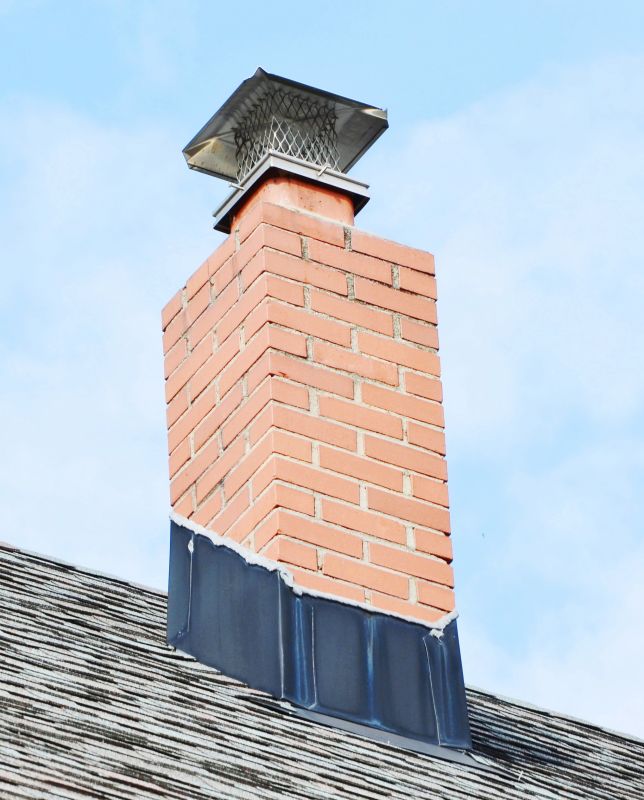
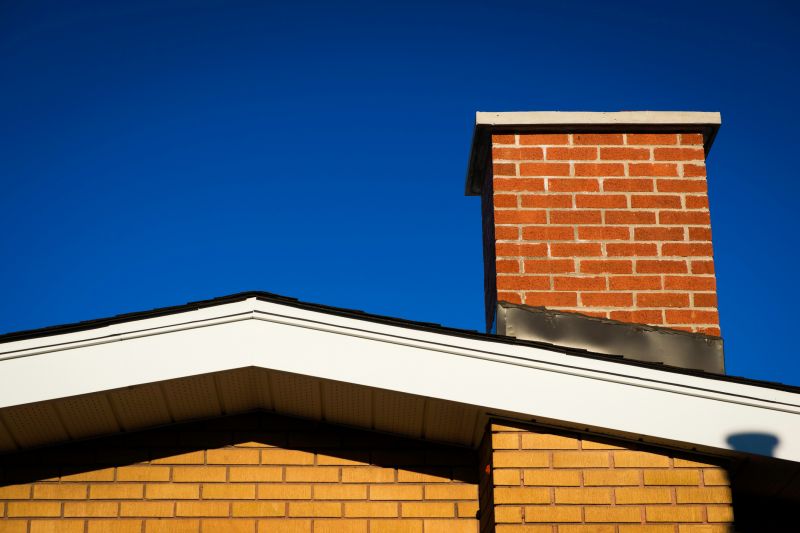
Chimney flashing is a critical component of a roof's weatherproofing system, designed to prevent water from seeping into the junction where the chimney meets the roof. Over time, flashing can become damaged or deteriorate due to exposure to the elements, leading to leaks, water stains, and potential structural issues. Property owners seeking chimney flashing repair typically look for local contractors who specialize in roof and chimney maintenance, ensuring that the flashing is properly installed, sealed, and maintained to protect the home’s interior and structure.
Local service providers who handle chimney flashing repair are experienced in assessing the condition of existing flashing and performing necessary repairs or replacements. They work with various roofing materials and chimney types, providing practical solutions to address common problems such as rust, corrosion, or shifting of the flashing. Connecting with reputable local contractors can help property owners find the right expertise to ensure their chimney area remains secure and weather-tight, safeguarding the property against water damage.
This guide provides helpful information to understand the essentials of chimney flashing repair and what to consider when choosing a service provider. It assists in comparing local contractors and understanding the typical scope of work involved. By offering clear insights, it helps visitors prepare to discuss their project with trusted local service providers.